Anyway, the original post can be seen here. I'm not going to write down all the directions on boiling the eggs, etc, but I will say that if you want PERFECT boiled eggs that are easy to peel, don't rip apart and the yolks are a pretty yellow color, you should definitely give the original post a quick scan. Now on to the fun part ... dying the eggs.
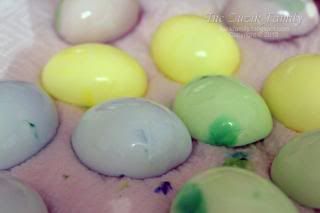
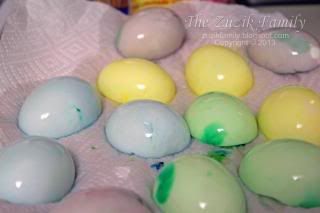
After you've boiled, cooled, peeled, cut and de-yolked (is that a word?) the eggs you want to put the outer parts of the eggs in cups with water, a few teaspoons of vinegar and whatever food color you want. It's basically the same thing as dying Easter eggs. Leave them in the cups until you get the shade you want (NOTE: the color will darken some after you take them out of the water, so just keep that in mind). Let them drain for a few minutes on a paper towel.
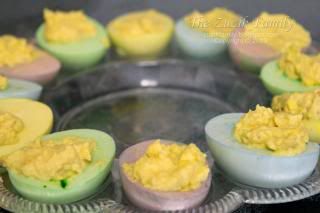
Then once they're done draining just make your filling however you would .. I did mine with 1/2 C of mayo and a little bit of brown mustard. Fill them all up with the yolk filling and voila! ENJOY!


No comments:
Post a Comment