Monday, February 25, 2013
Announcement!
You may notice on my most recent post I have a watermark on the pictures. Not that I've had any issues with my pictures being stolen from my blog, but I don't want anything to start happening, so I've finally learned how to make a watermark in Photoshop, and now I'll be adding this on to all my blog pics from here on out. That's all. You may go back to your regularly scheduled programs now. :)
Throw Pillows
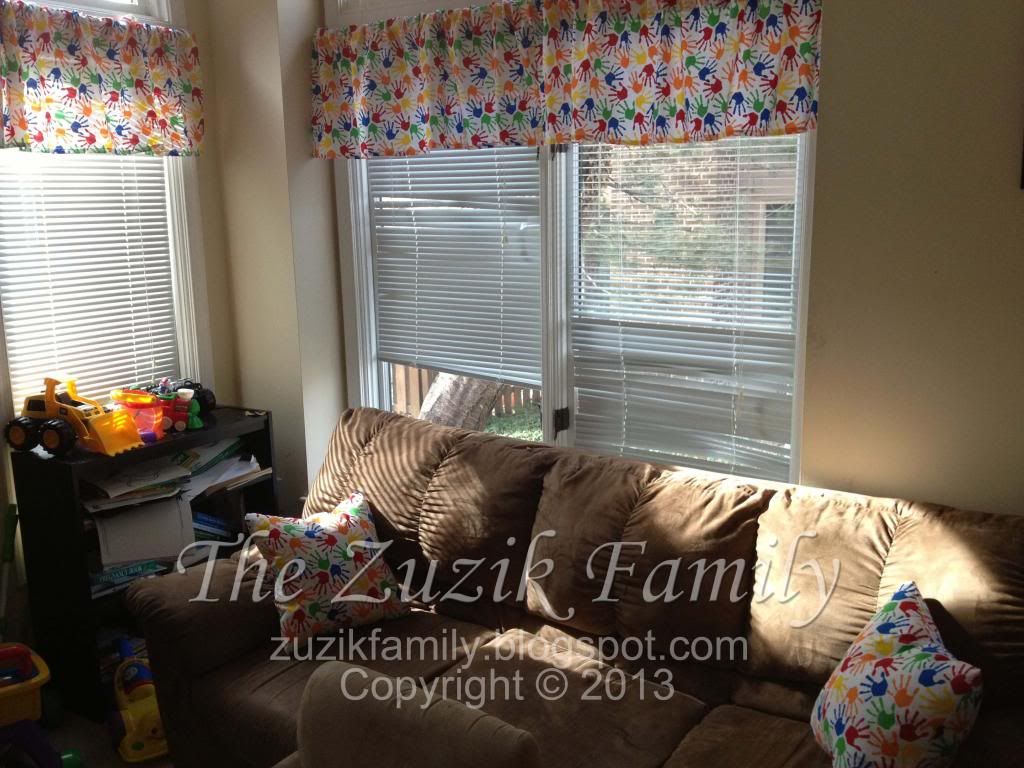
Last week after I finished the valances for the kids' playroom, I noticed I had almost a yard of fabric leftover, so I decided to throw together a few throw pillows for on their couch since the ones we currently had in there were old and beat up. They turned out really, REALLY good, I think!
To make these pillows I cut two pieces of fabric that were 18"x18" and then pinned them together with the "right" sides together (you have to sew them on the wrong side and then flip them right side out before stuffing them). I sewed three sides completely together and then sewed all but a small section on the fourth side. Then I flipped the pillow right side out through the small opening, and stuffed in as much "fluff" as I wanted. This was a good job for Jacob. He had a blast helping me stuff the pillows! :) When I was finished I hand stitched the small opening with the matching white thread and voila! Two matching throw pillows for the kids to cuddle with while watching TV or movies. :)
To make these pillows I cut two pieces of fabric that were 18"x18" and then pinned them together with the "right" sides together (you have to sew them on the wrong side and then flip them right side out before stuffing them). I sewed three sides completely together and then sewed all but a small section on the fourth side. Then I flipped the pillow right side out through the small opening, and stuffed in as much "fluff" as I wanted. This was a good job for Jacob. He had a blast helping me stuff the pillows! :) When I was finished I hand stitched the small opening with the matching white thread and voila! Two matching throw pillows for the kids to cuddle with while watching TV or movies. :)
And, here's a picture showing them with the valances. Now we just need to get the walls in the playroom painted and it'll be completely finished! :)
Saturday, February 23, 2013
FIRST SEWING PROJECT: Valances for the Kids' Playroom
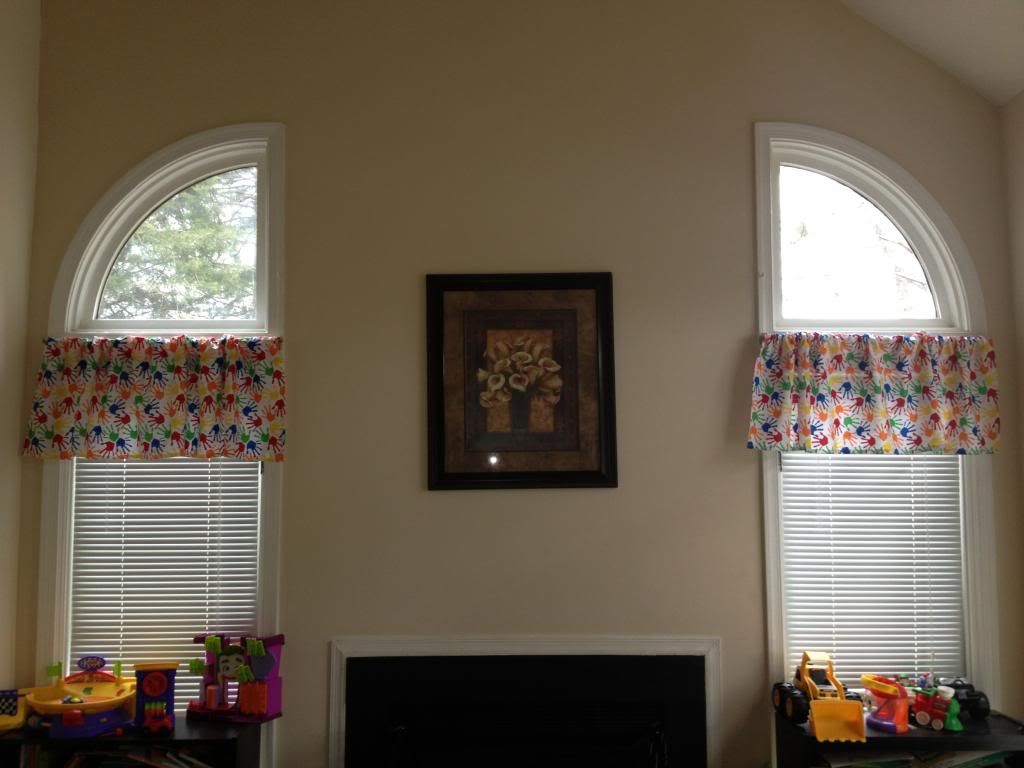
This was my first official sewing project after I got my new sewing machine. My poor Facebook friends had to hear a LOT about it. lol Now I'm finally done and I can share with all of you! I had to make a total of SIX valances for their playroom. One for each of the single windows and then two for the big double window. Seeing as how these were the first valances I ever made I didn't really know how I was going to do them, so I just took the ones down in Jacob's bedroom that I had bought and copied the pattern and measurements.
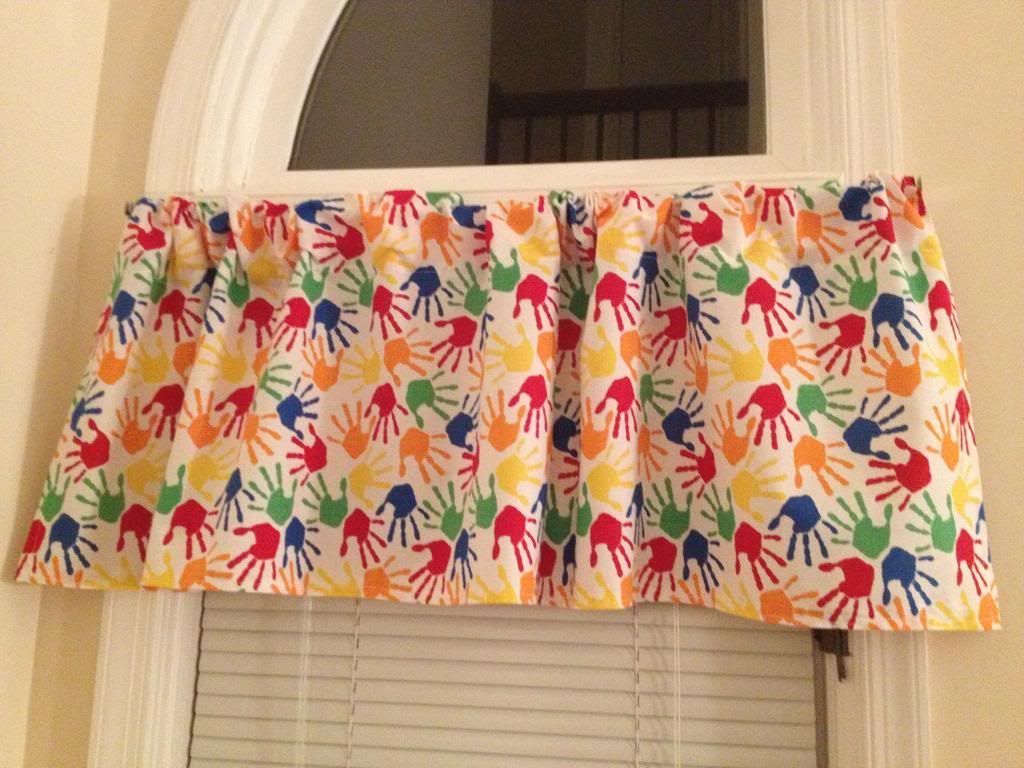
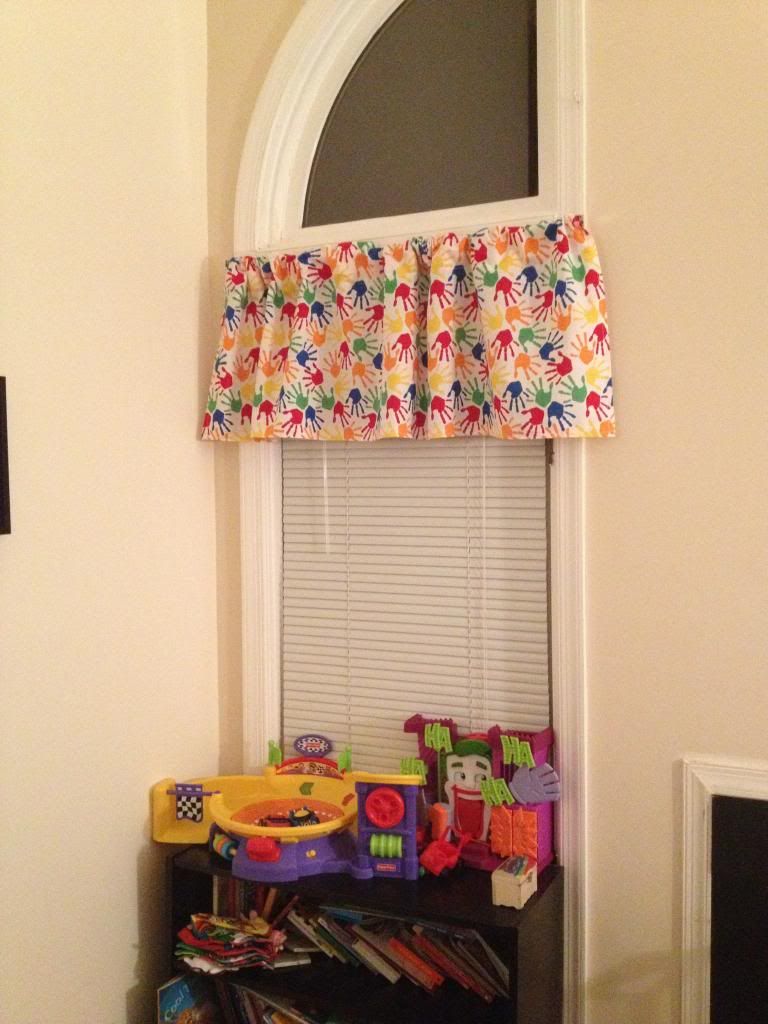
The valances are a total of 57" wide and 22" long. I did 1/2" seams on the bottom, first, and then one each side. Last I did a 4" pocket on top for the curtain rod to go through. I only used the small, cheap, 1" white metal curtain rods that you can get at Walmart or Target, but any curtain rod up to 4" would work fine.
And, last, I had my heart set on Dr. Seuss patterned fabric for the valances, but our Joann's didn't have any. I'm not sure if that's because they just didn't have it or because it's a copyright thing and NO ONE sells it (although you can buy Dr. Seuss valances on amazon - that's where I originally got the idea). Anyway, here are just a few pictures of the valances. I'm so proud of them!
I have about a yard of fabric leftover, so I'm thinking of making a few matching throw pillows to add to their couch in their playroom. Stay tuned for a post about those. :)
Wednesday, February 20, 2013
Four months.
Today marks four months since my sister passed away. Four months. In some ways it seems like it just happened, but in other ways it feels like it's been more like four years instead of four months. I still have not accepted this fact. I've started getting used to the feeling of not having her around, but every now and then I'll catch myself thinking "I need to ask Ashlee this" or "That's so funny. I should tell Ashlee this" or "I can't wait to show Ashlee what I just made" (we both love(d) crafting!), and then I remember that I can't ask her anything anymore. I can't tell her a funny joke I heard, and I can't send her picture mail of the new valances I just made for the kids' playroom. Sure, I have plenty of other people in my life I can share these moments with, but it's just not the same.
They say the first year is always the hardest after losing someone you love, so I'm thankful that we're in a "holiday lull" right now. Since my birthday (which was January 17th) there hasn't been much that I was anxious about. Of course I still have days where my heart aches, and I'm sad and/or cry about missing my sister, but I haven't had that impending doom feeling that I was having before every major holiday, so for that I'm thankful.
We're still dealing with our grief. It's a slow and painful process. I'm hopeful that we'll continue to move through this grieving period and come out of the other side unscathed. :)
Love you baby sister. Please come visit me in my dreams soon! xoxo
It's amazing how much you can miss in just four short months. It doesn't seem like a long time frame, but it really is. Since October 20th of last year we've had quite a few holidays and a few birthdays, too. We've made changes here and there to our home, and Mike has made some changes to their home as well. The boys have grown even more. Jacob has learned his phone number and his address, plus he can write both. He can write his name, first and last, his brother's name, and "mommy" and "daddy". Henry is now putting together whole sentences and carrying on conversations. He's turned in to quite the little independent two-year old. I just know she'd love doing art projects with Jacob and dancing with Henry.
They say the first year is always the hardest after losing someone you love, so I'm thankful that we're in a "holiday lull" right now. Since my birthday (which was January 17th) there hasn't been much that I was anxious about. Of course I still have days where my heart aches, and I'm sad and/or cry about missing my sister, but I haven't had that impending doom feeling that I was having before every major holiday, so for that I'm thankful.
We're still dealing with our grief. It's a slow and painful process. I'm hopeful that we'll continue to move through this grieving period and come out of the other side unscathed. :)
Love you baby sister. Please come visit me in my dreams soon! xoxo
Tuesday, February 19, 2013
My Second Sewing Project: Child's Scarf
This is slightly out of order, but I'll be posting my first-ever sewing project pictures later on after I get the curtain rods and the valances hung. They're so super cute!
In the meantime I made the boys matching scarves out of some remnant fleece I found for $5 at Joann's. I found a tutorial on You Tube on how to make them, so I just went with it. I know you don't have to hem fleece since it won't ravel, but I like the look of the zig-zag stitch, so I went that route.
To make this type of scarf I cut the fleece 48" long and 5" wide. Then on the side I was going to use as the back I measured up from each short end 3" and marked it off with a sharpie marker. Then just below that line I measured in from each long side 3/8" and cut out that little sliver of the fleece. This is where I lined up the fleece to make the hem. Before I sewed the hems I cut up from each short end to the black sharpie to make the fringe. I didn't measure them, I just eye-balled it, but I'd say they're about 1/4" wide. Then I used the zig-zag stitch on my machine to sew both hems. And, voila! Matching children's Steeler scarves. :)
Keep in mind, I'm still very new to the sewing world, so I'm still learning as I go. See how the edges are a little ruffled. I *think* that is because I didn't make the stitch length long enough. I guess the next time I sew on fleece I'll have to make it longer and see how it does. :)
Sunday, February 17, 2013
Reading Corner 2013: Book 4 of 12
The Glass Case: A Short Story - By: Kristin Hannah
This one I don't have a picture for, a link or even a summary of what the story was about. It was a VERY short story, and a super easy read ... even for me. It took me about an hour to read it.
Basically this one is about a young mother and her family. One day tragedy strikes when her young son misses the school bus and decides to walk home from school instead. April and her husband, Ryan, fear the worst. Eventually, hours after Bradley missed the bus, he arrives home and tells his parents of the lady who helped him get home ... April's deceased mother, who never had the privilege of meeting any of her grandchildren. It's definitely a good choice for a quick read. :)
Reading Corner 2013: Book 3 of 12
Water for Elephants - By: Sara Gruen
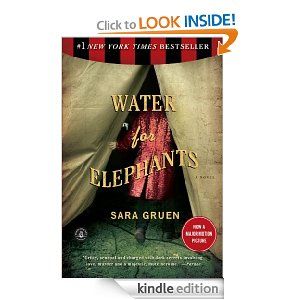
Though he may not speak of them, the memories still dwell inside Jacob Jankowski's ninety-something-year-old mind. Memories of himself as a young man, tossed by fate onto a rickety train that was home to the Benzini Brothers Most Spectacular Show on Earth. Memories of a world filled with freaks and clowns, with wonder and pain and anger and passion; a world with its own narrow, irrational rules, its own way of life, and its own way of death. The world of the circus: to Jacob it was both salvation and a living hell.
Jacob was there because his luck had run out—orphaned and penniless, he had no direction until he landed on this locomotive "ship of fools." It was the early part of the Great Depression, and everyone in this third-rate circus was lucky to have any job at all. Marlena, the star of the equestrian act, was there because she fell in love with the wrong man, a handsome circus boss with a wide mean streak. And Rosie the elephant was there because she was the great gray hope, the new act that was going to be the salvation of the circus; the only problem was, Rosie didn't have an act—in fact, she couldn't even follow instructions. The bond that grew among this unlikely trio was one of love and trust, and ultimately, it was their only hope for survival.
Surprising, poignant, and funny, Water for Elephants is that rare novel with a story so engrossing, one is reluctant to put it down; with characters so engaging, they continue to live long after the last page has been turned; with a world built of wonder, a world so real, one starts to breathe its air.
I had already seen the movie when I borrowed this book to read from the Kindle Lending Library. I loved the movie so much I was wondering how I'd like the book, but just like every other book-made-into-movie this book was much better than the movie. I love the storyline and the unpredictable ending of this one.
Wednesday, February 13, 2013
Valentine's Whoopie Pies!
When I was buying the fabric I'm using to make valances for the kids' playroom (blog post on this to come at a later date) at Joann's, they just so happened to have all their Valentine's stuff on sale already, some up to 50% off. So, I bought, on a whim, a whoopie pie pan, and I'm so glad I did. They're not very difficult to make and such a nice, different, treat.
I made these a couple weeks ago, but never got around to blogging about them. Since tomorrow is Vday (And I'm planning to make them again) I figured I better get with the program. :)
Whoopie Pies
Ingredients:
1/2 C (1 stick) butter, softened
1 C firmly packed brown sugar
1 egg
1 tsp vanilla extract
2 C all-purpose flour
1/3 C cocoa powder
1 tsp baking powder
1 tsp baking soda
1/2 tsp salt
1 C buttermilk
Whoopie Pie filling (recipe below)
Directions:
Preheat oven to 350. Lightly spray Whoopie Pie Pan with nonstick cooking spray.
In large bowl, beat butter and sugar with electric mixer on medium speed until light and fluffy, about 3 minutes. Add egg and vanilla, beat until well combined.
In another bowl, sift together the flour, cocoa powder, baking powder, baking soda and salt. Add half the dry ingredients into the butter mixture and mix on low speed. When dry ingredients are almost incorporated, stop the mixer and add the buttermilk. Continue to mix on low speed until all ingredients are almost incorporated. Stop the mixer and add the remaining dry ingredients. Mix on low until just combined. Spoon 2 tablespoons of batter into each cavity, spread batter to the edges. Cavity should be 2/3 full.
Bake for 8-10 minutes or until the top of the cake springs back when touched. Allow cakes to cool in pan 8 minutes. Remove from pan and allow to cool completely before filling. To assemble pies spread filling on one cake and sandwich with another cake.
Makes 12 whoopie pies (24 cakes total).
Whoopie Pie Filling
Ingredients:
6 tablespoons butter, softened
1 1/2 C confectioner sugar, sifted
1/8 tsp salt
1 jar marshmallow creme (about 7 oz)
1 tsp vanilla extract
Directions:
In large bowl, beat butter with electric mixer until creamy. Add sugar and salt to the butter, mix well. Add marshmallow creme and vanilla, blend well. Use immediately to fill whoopie pies or refrigerate covered up to one week. Bring back to room temperature and lightly beat before using.
Makes about 2 1/2 C of filling, enough to fill 12 whoopie pies.
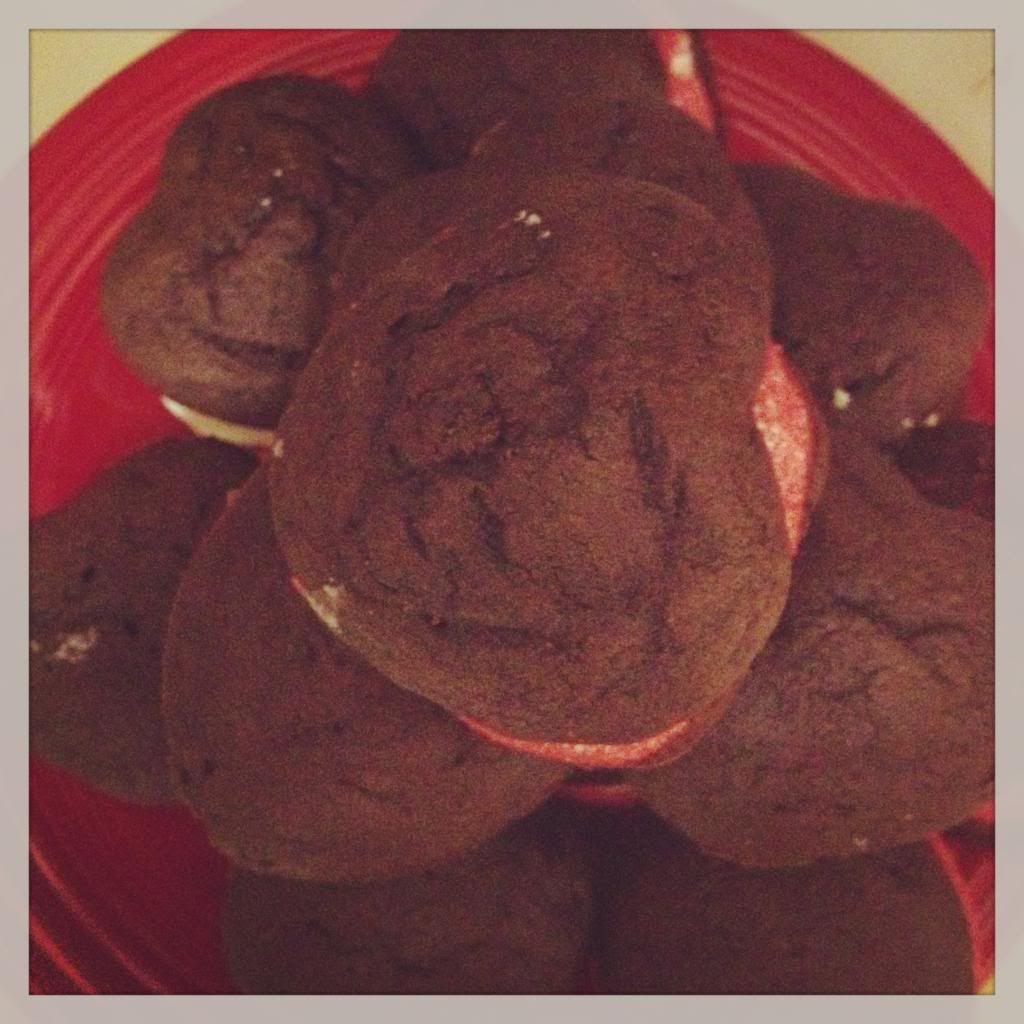
And, here's what they looked like finished ...
Subscribe to:
Comments (Atom)

